Dashboard - Listings Card

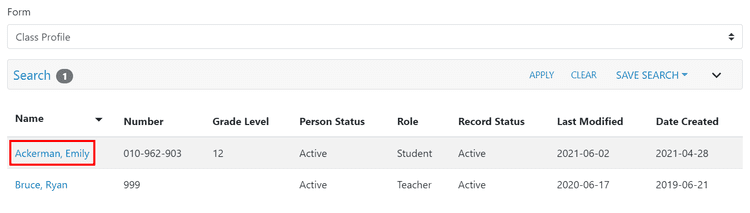
The Listings Card is a common feature within the Clevr dashboard. It enables users to quickly navigate to forms, as well as staff, student, or school-based records that they may need to view or update.
Listings Card – Accessing a Record
Click on any name within the Listings Card to navigate to that person’s record.
Listings Card – Adding a Person
In Clevr a "person" is the subject of a form and can include students, staff, parents, etc.
A person can be added to the currently selected form by clicking the Add button.

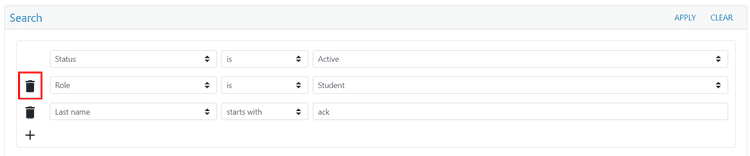
Use the search field to look for the person you would like to add to the form. You can choose to run your search based on any searchable categories such as Last Name, First Name, Number, Status, Grade, or Role.
Click the trash icon beside a field to remove that specific filter.
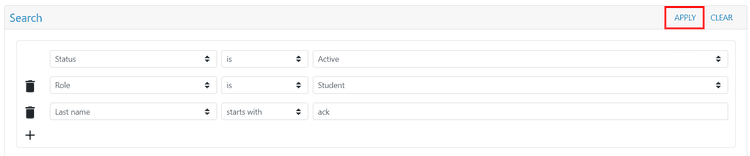
Click Apply to run your search. All persons who meet the conditions specified in your search will appear below.
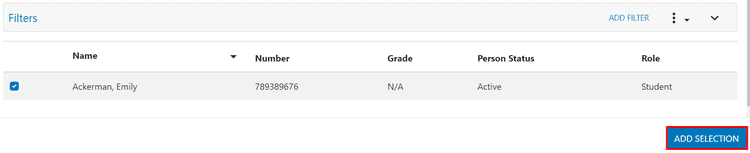
Select your desired person by checking the checkbox on the left-hand column.
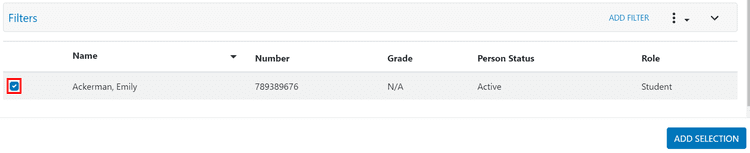
Click Add Selection button to add the selected student to the form the Listings Card is set for.

If your search does not return results within the add screen for the person you wish to add, it is likely that they already have a record for the form - if a person has already been added to the form they will not appear within the add screen.
If you have access to the Bulk Data Entry module and the selected form has fields flagged for Bulk Data Entry, then a pop-up window will appear asking if you would like to update/enter data through Bulk Data Entry for your selection.
If you click Yes, the Bulk Data Entry Specifics page will appear.
If you click No, you’ll be redirected to the first student’s form.
Listings Card – Removing a Person
Before you remove a person, it's important to note that the Listings Card is not your own personal view. If others require access to the person, removing them from your Listings Card for the selected form will remove them for other users.
If a person is accidentally removed they can be readded by following the Adding a Person steps above.
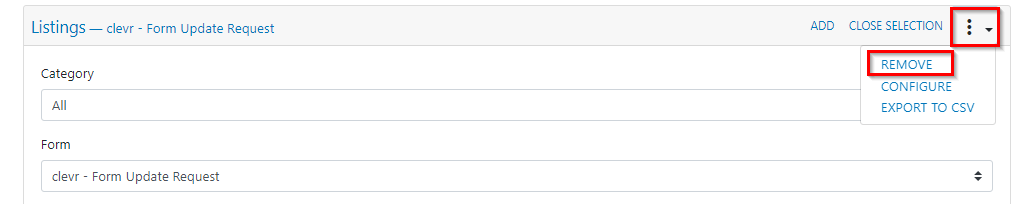
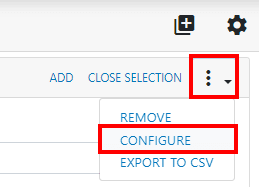
To remove a person, click the three dots in the top right corner of the Listings Card, then click Remove.
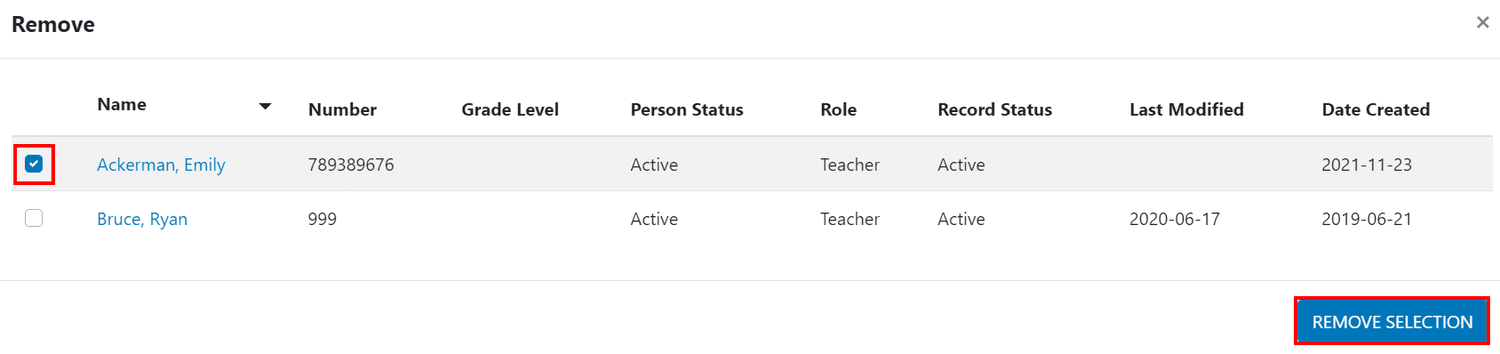
A pop-up window will open. Click the checkbox beside any persons you’d like to remove, then click the Remove Selection button.
 Listings Card – Searching and Filtering
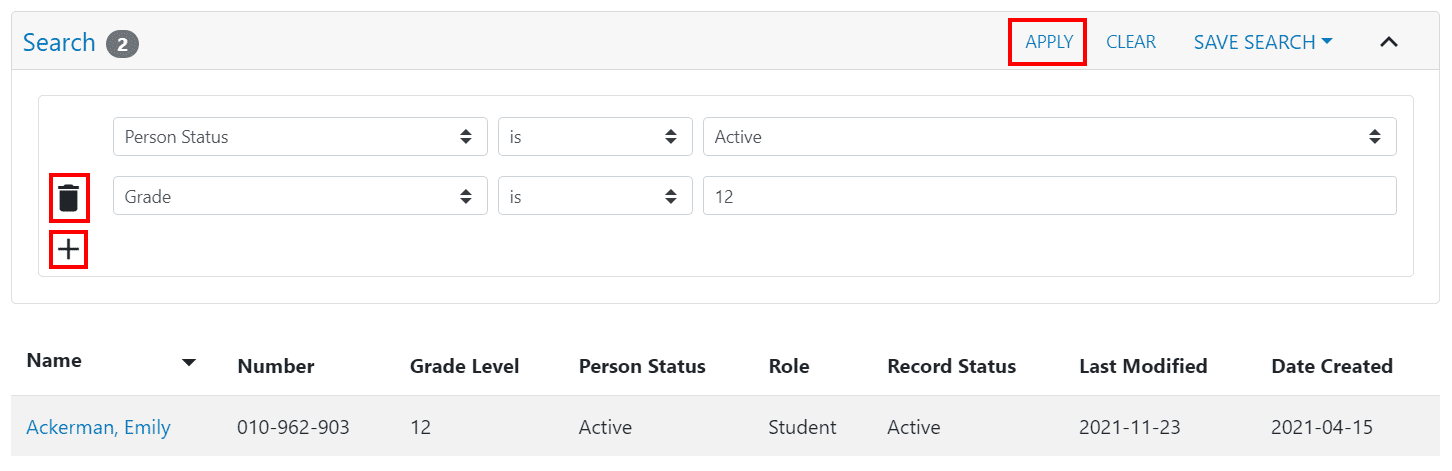
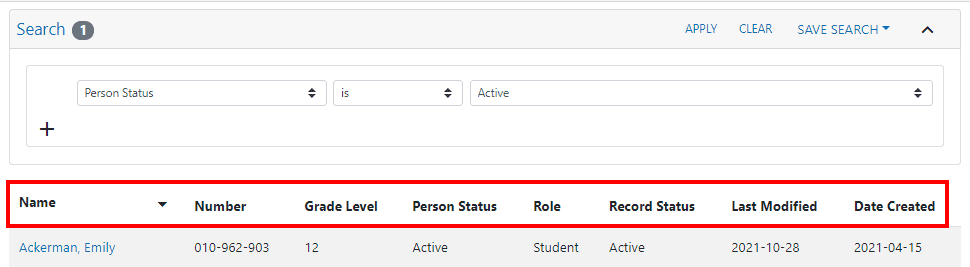
A filter can be applied for those seeking to narrow down the persons appearing in the Listings Card. The filter works in conjunction with the form selected in the form dropdown. The default search value defaults to Person Status > Active so that you see only the records of persons who are active at that location. For example, this hides students who have left the district / division.

By default, your Dashboard search will look at only the most recently created record. If you would like your search to return results for all records select Records to Include in the filter dropdown then select All Records.

Within the Listings Card search, the + icon can be used to apply additional filters. The trash can icon is used to remove a filter. When you have all your desired filters, click the Apply button. The Listings Card will be updated with the persons that match your parameters.
Listings Card – Customizing the Columns that Appear
Within the Listings Card, users can customize which columns appear within the results table. This setting can be configured at the Dashboard template level and further configured by the user.
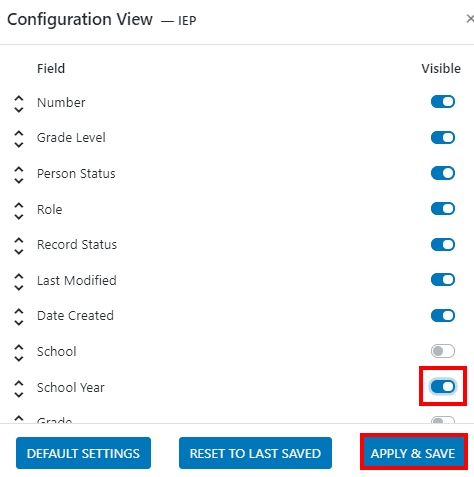
Fields need to be flagged for Search to appear within the Configure option to be included in the Listings Card.
To configure the fields within your Listings Card, click the three dots on the top right corner of the Listings Card, select Configure.
Use the toggles to select which fields are visible or hidden. Users will also have the option to restore the default settings or to revert to the last saved dashboard. Click Apply and Save to apply your desired changes.
Listings Card – Saving Common Searches
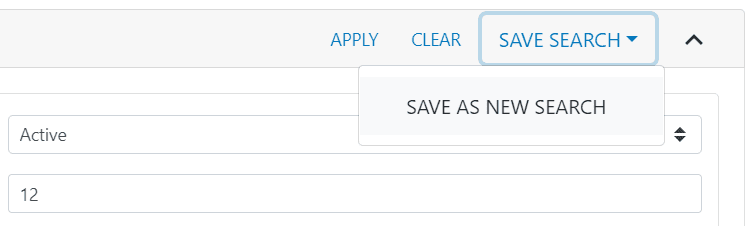
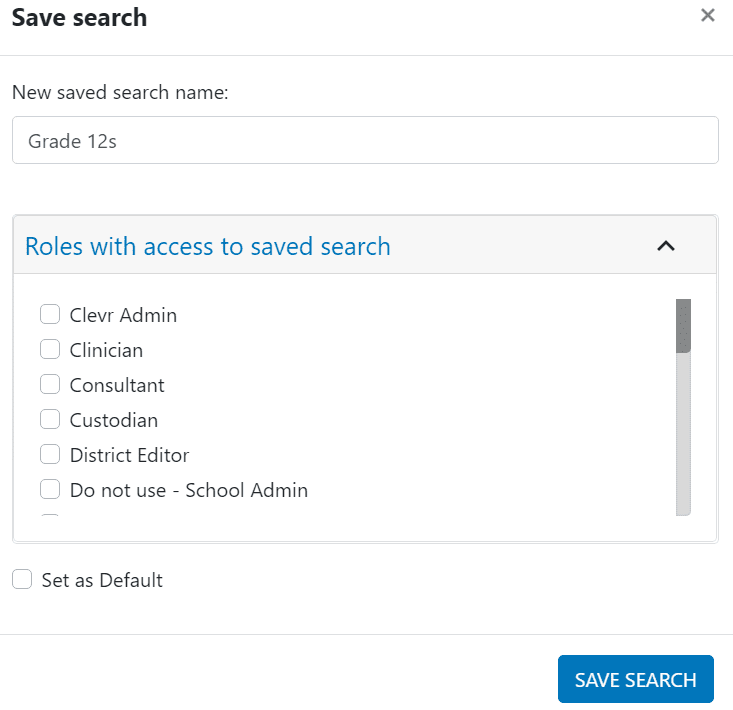
You will be prompted to enter a name for your search. Users who have the Listings – SaveSearchToRoles page right will be permitted to share the search with specific roles. Users without this page right will only be permitted to save a search for their own account. Name your search and specify which role(s) the search should be shared with, then click the Save Search button.
If you wish to apply your search automatically in the Listings Card when the form is chosen, you can select the Set as Default checkbox.
Listings Card – Accessing Custom / Summary Reports
Some forms have Custom or Summary reports enabled which are specialized printouts that combine with Advanced Search to give you a snapshot of all records that meet the predefined parameters. If you have form(s) with Custom / Summary Reports enabled, you can access them in the listings card.

Click the three dots in the top right corner to open the menu. Within the menu, you can select your Custom report or you can choose Summary Report which will take you to the legacy Homescreen where you can find the menu items to run the report.
Listings Card – Categories
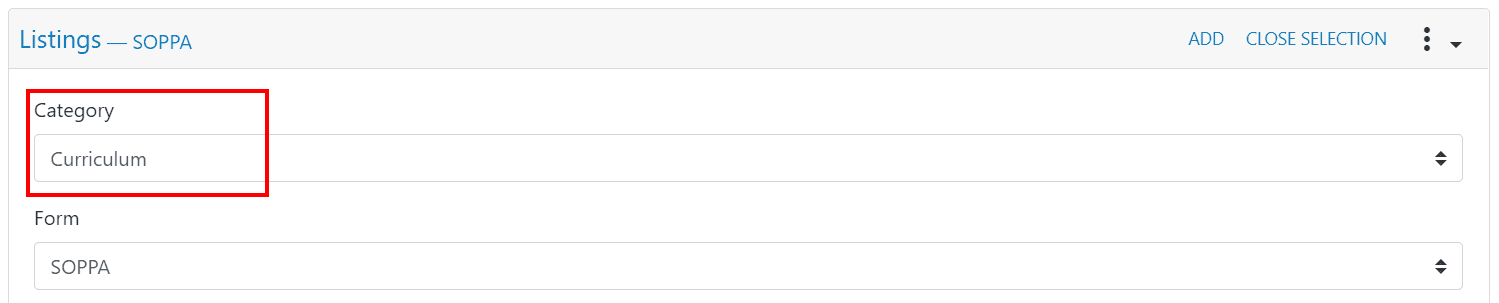
As you grow your usage of Clevr, you may find that your list of forms is getting long, which could take some time scrolling through to find the exact form you’re looking for. That’s why we have this particular Dashboard Card to help you organize and categorize forms by type, department or use case. Categories are created using the Form Management module and these categories are unique to your Xlevr environment. For example: Clinical Support Services or Parent Forms
Once your forms are categorized, the category names will appear within the Category dropdown. The Category dropdown has default All or Uncategorized options. The Category dropdown will expand all forms listed under the category you’ve selected.
Your system administrator determines which cards are available in your implementation. If you would like to request a card for your dashboard, please contact your Clevr District Lead
Related Articles
Dashboard - Quick Profile Search Card
Your system administrator determines which cards are available in your implementation. If you would like to request a card for your dashboard, please contact your Clevr District Lead The Quick Profile Search is a great way to quickly check if a staff ...How to Remove Persons from the Dashboard
This document will walk you through how to remove a person from the Dashboard Listings Card. Removing a person from the dashboard is super easy! This button will "hide" a person from the dashboard but will not delete their record. It's totally safe ...Advanced Search
Advanced Search allows you to build a custom report from your data by choosing the form, filtering your data by categories, and selecting data that you would like to appear in the search results. Accessing Advanced Search Select the Analysis button ...Dashboard - Saved Searches
The Saved Search Card provides a quick way to access your searches that have been saved in Clevr. To run a saved search, click the name of the form you’ve saved a search under, then select the appropriate search. The Saved Search Card works in ...Dashboard - Overview and Basic Navigation
The Clevr Dashboard is the main page users see when they log into Clevr. Districts have the ability to customize the dashboard by selecting which cards are displayed upon login. Each dashboard card serves a specific function, providing users with ...